 Text us on 07802 694 957 to arrange a quote or use the online form
CALL US NOW
 07802 694 957

 Email
derek@paintingandplastering.co.uk
Email
derek@paintingandplastering.co.uk 
Nov 02 2021
INVISIBLE REPAIRS
Hole repairs and wall crack repairs might be the reason you want to hire a plasterer for your Edinburgh job. Show More
Nov 02 2021
PLASTERING OVER ARTEX
Artex is a textured coating that was very popular in Scotland and the UK in the 1970’s and 1980’s. It's Show More

Nov 02 2021
WALL & CEILING STRAIGHTENING
To some of our Edinburgh plastering customers, there is nothing worse than a wonky wall. Show More
Nov 02 2021
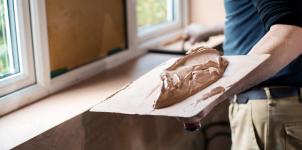
PLASTERBOARD/ WALL & CEILING REPAIR
Plasterboard services include wall & ceiling repair but can be applied to multiple areas, interior or exterior. Show More

Nov 02 2021
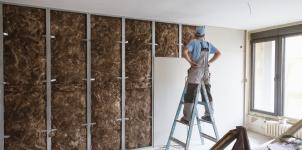
DOT AND DAB METHOD
Plastering does not always require wet plastering as with traditional lime plastering. Dot and Dab plastering brings speed and efficiency Show More
Nov 02 2021
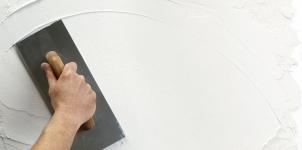
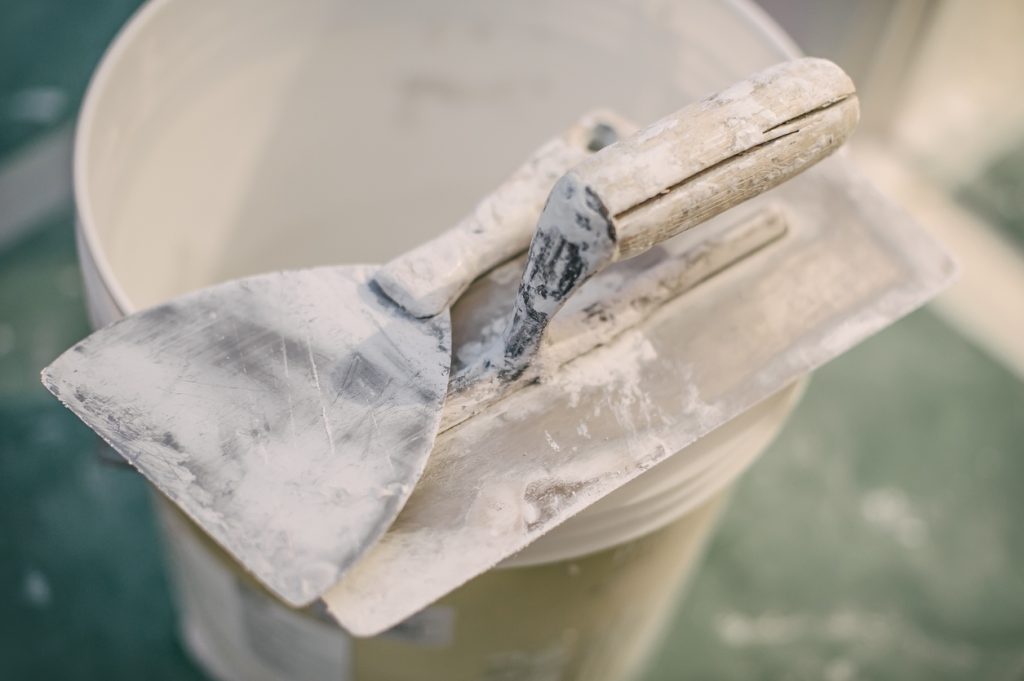
PLASTER SKIMMING
Our plastering services for Edinburgh homes and commercial properties often involves skimming. Note: The terms skimming and plastering are often Show More
Nov 02 2021
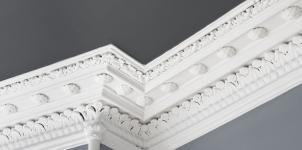
COVING AND CORNICING
Plaster Coving and Cornice add a touch of elegance and style to finish off any room. Show More

Nov 02 2021
FIREPLACE REMOVAL - EDINBURGH
Removing your fireplace in your Edinburgh or West Lothian property requires a few key considerations. Show More
Nov 02 2021
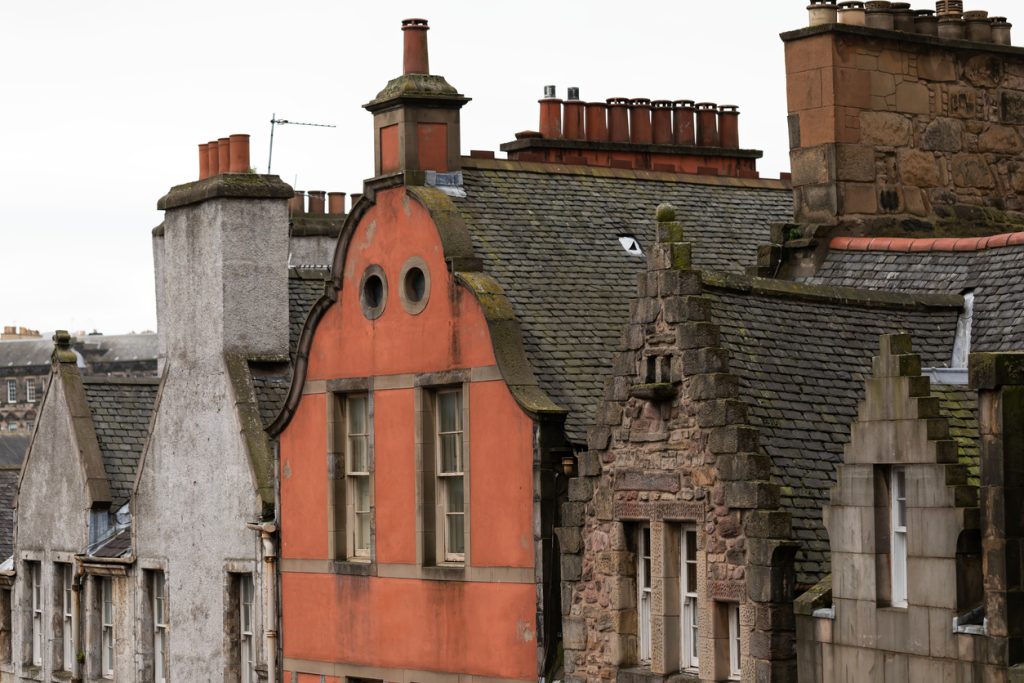
PERIOD PROPERTY RENOVATION
Period property restoration in Edinburgh is one of our specialties. Show More
Nov 02 2021
TRADITIONAL LIME PLASTERING
Traditional lime plastering is essential to maintaining the heritage of Edinburgh properties. Show More
Nov 02 2021
CEILING REPAIR
We specialise in following ceiling repair services for our plastering & decorating services in Edinburgh: Show More

Nov 02 2021
INTERIOR DECORATING
We offer a full-service interior decorating service for private homes, rental investments, and business premises. Show More
Nov 02 2021
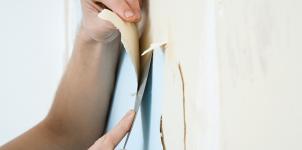
WALLPAPER STRIPPING & REMOVAL
We offer our Edinburgh customers an efficient wallpaper stripping service. Show More

Nov 02 2021
WALLPAPER HANGING
We have been providing a high level of wallpaper hanging service to homes and businesses in the Edinburgh area for Show More
Nov 02 2021
ECO PAINTS
Paint is toxic, eco-paints are not. Lowering your toxic load is important to protect your health. Our eco-paints are beautiful, Show More

Nov 02 2021
INSURANCE WORK
We are very happy to quote for insurance work. In many cases, customers require both plastering and decorating services to Show More

Oct 20 2023
Update from the road: Fireplace removal Edinburgh (Marchmond)
A seamless restoration: Fireplace Removal from 1870's Edinburgh This fireplace removal was our complete service, including matching the period skirting Show More

Jul 31 2022
Update from the road: Haymarket fireplace removal- fireplace circa 1890
This fireplace removal project came to me with the fireplace partly dismantled. The customer had started dismantling it herself and Show More

Jul 05 2022
Liberton Fireplace removal (Update from the road)
We specialise in fireplace removal in the Edinburgh area and lately have seen a sharp increase in requests for this Show More

Jun 24 2021
Fireplace Removal - Update from the Road
Our fireplace removal service in Edinburgh seems to be popu Show More

Jun 09 2021
New Manager Joins Paintworks and Plastering crew
Summer in Edinburgh is keeping us busy, so book your plastering job ASAP so we can serve you in a Show More

Mar 01 2021
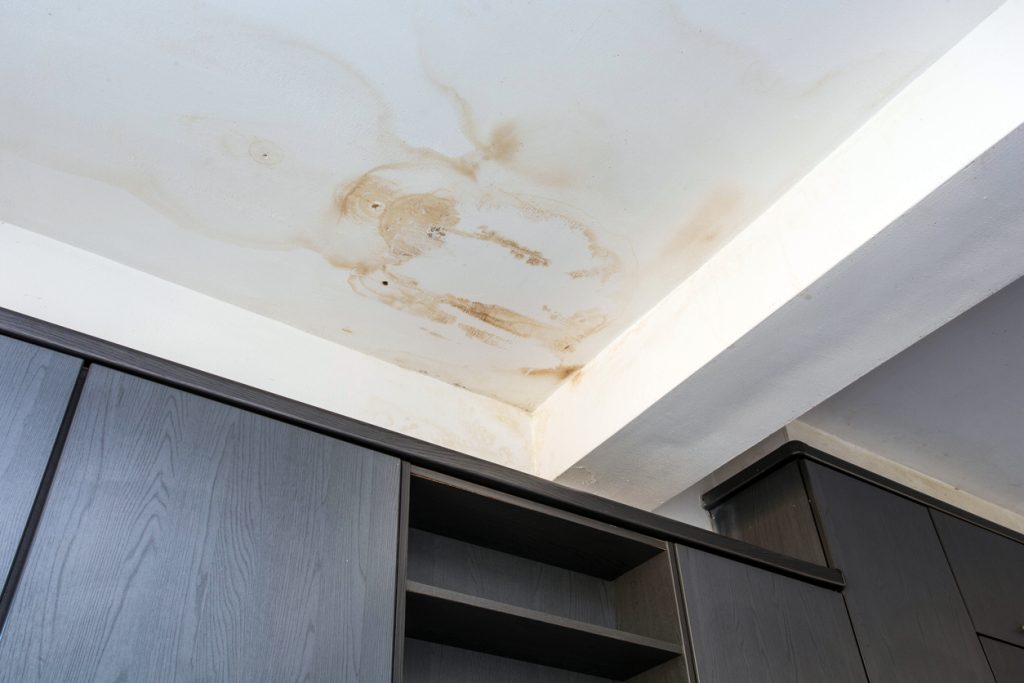
Update from the Road - Damp Proofing Plastering job
This South Queensferry homeowner suspected a damp problem. Show More

Feb 02 2021
Subsidence Damage - Repairing Wall Cracks
Wall crack? It is probably subsidence! Subsidence repair is a common service we perform. Show More

Jan 03 2021
Booking Plastering Work in Edinburgh
Happy New Year Edinburgh! Lang may yer Lum Reek! Show More

Oct 09 2020
Edinburgh Plastering- Update from the road (EH10 Morningside)
Crooked, uneven or wonky looking wall? Show More

